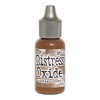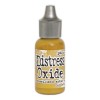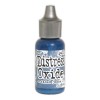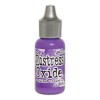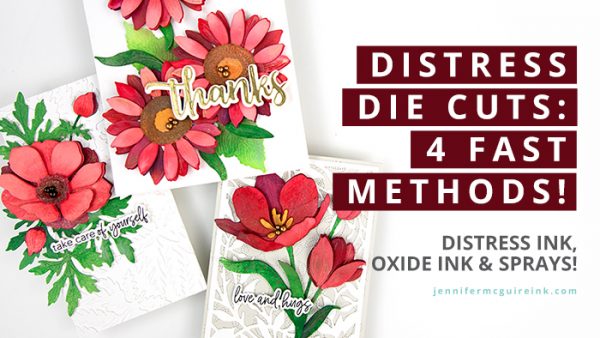
Distress Oxide Inks + LOTS of Cards + GIVEAWAY

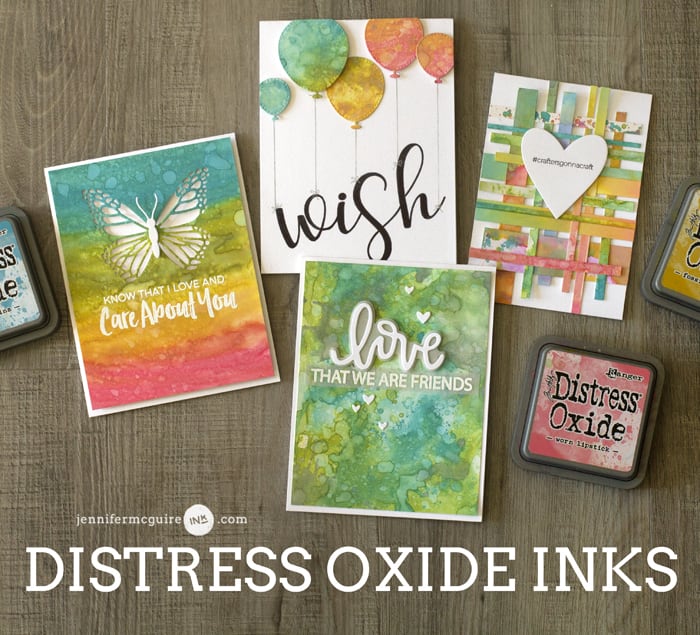
Hello! I am so excited to bring you this video. In it I share an intro to the new Distress Oxide Inks along with LOTS of card ideas! Check out the giveaway, too.
[All supplies are linked in the thumbnails at the end of this post. Compensated affiliate links used at no cost to you. To watch the video in HD on YouTube, click HERE.]

Please know this video is just an intro of Distress Oxide Inks… showing you my discovery process as I used them for the first time. I will be doing a series of videos soon showing lots of things you can do with them. This is just the tip of the ice berg! These dye-and-pigment-ink-fusion inks are FUN.

Also, I learned about these inks from the creator of the inks, Tim Holtz. He is the expert – not me – but you don’t have to be an expert to enjoy them! I am sure Tim will sharing lots of info on them in the future. You can find his blog HERE.
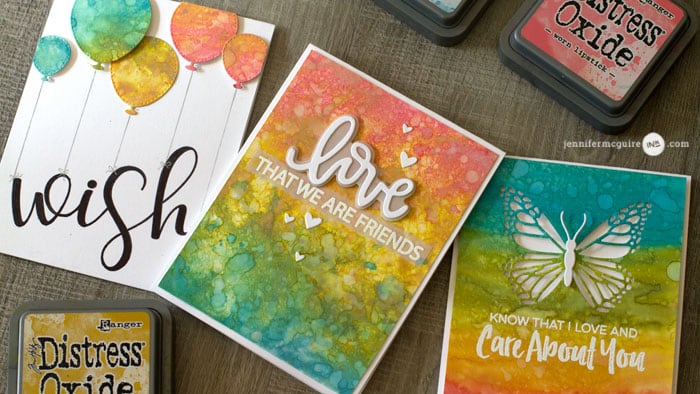
Please watch the video for info on everything and the instructions for each card’s background and colors. I shared a lot! Here is a bit more about each card….

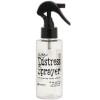
These first two cards were created by putting Distress Oxide Inks and water on a craft sheet and pressing white cardstock into it. I then would heat set, spritz with water, heat set and repeat.

The sentiment uses Neat and Tangled Love Notes Dies and Neat and Tangled Love Notes Stamp Set.

Those colors are dreamy! I wish you could see the matte, suede, creamy, chalk-like finish!

For these lighter watercolor backgrounds, I put Distress Oxide Inks on my craft sheet and spritzed them with water. I then used a watercolor brush to add them to a cardstock background. After drying, I spritz the background a bit and heat… repeatedly.

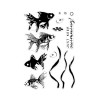
The fish is the Hero Arts Koi Fish Die and the sentiment is from the Hero Arts Color Layering Goldfish Stamp Set.

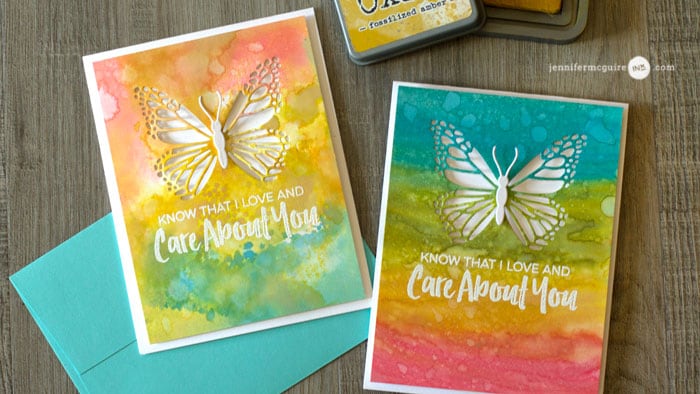
Here are two examples I created by putting Distress Oxide Ink directly onto white cardstock and spraying with water. I then heat set, spritzed and repeated.

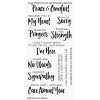
I used the Concord & 9th Butterfly Card Dies to create that dynamite butterfly element and the My Favorite Things Deepest Sympathy Stamps for the sweet sentiments.
Here is another examples of direct-to-paper inking followed by lots of heat setting and spritzing with water. The background looks like a creamy stone.  I added a Mommy Lhey Hello sentiment to a My Favorite Things Wonky Stitched Rectangle die cut and finished with Pretty Pink Posh Gold Mini Star Confetti Sequins.

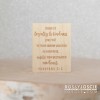
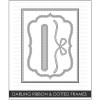
These two cards show that you can go light or dark with Distress Oxide Inks. I love the variety! I added a Bossy Joscie Bible Verse: Proverbs 3:3 scripture stamped on a My Favorite Things Cross Stitch Rectangle Die Cut. That cut bow is a Studio Katia Darling Ribbon and Dotted Frames die cut from some silver glitter cardstock.

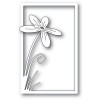
When I first started playing with the inks, I had several “experimental pieces” of cardstock. I didn’t let any go to waste! For this card, I put a inky piece behind a Poppy Stamps Floral Stem Collage die cut window with a My Favorite Things Hello There “hi” die cut. I wasn’t sure I loved the inky background until I incorporated it into the card and now it makes me happy!

Here is another of my “experimental pieces”. I used the Concord & 9th Say Hello dies to create the large “hello” window. This die set is so versatile! I also used the Concord & 9th Say Hello Stamp Set.

Here are more using the Concord & 9th Say Hello dies. I also used some pieces where I created oxide-like paint splatters. SO fun.
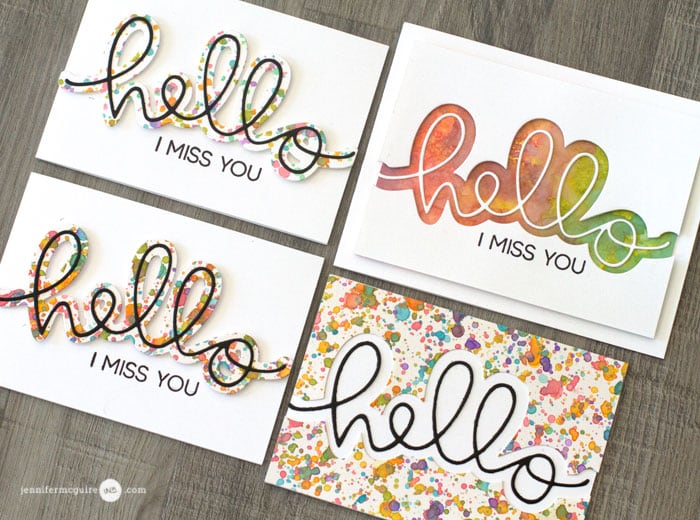
Boy was it fun making those splatters… and they end up with such a smooth, chalky look.

Speaking of splatter… these inks look so good on craft! These next two cards use the Poppy Stamps Celebration Balloon Collage Die and Impression Obsession Congrats Word Set Dies.

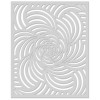
When you apply inks to cardstock and lightly spritz it, the ink looks like it starts to glow (aka. oxidize). Especially on kraft cardstock! I love it. This next one shows Distress Oxide Inks applied over a Hero Arts Spiral Petals Stencil. I again used Neat and Tangled Love Notes Die and Neat and Tangled Love Notes Stamp Set.

I had a few “experimental pieces” that I didn’t like as much. So I used the Poppy Stamps Pinpoint Balloons Dies to cut balloons from the areas I did like. This worked so well! I drew silver lines to “tie” the balloons to the Concord & 9th Party Wishes sentiment. Wow – that sentiment is awesome!

Have fun playing with the Distress Oxide Inks. (Or any inks!) Then die cut any shapes from your inky pieces and create a fast card…

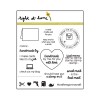
Heck – I even used the scraps I cut off my trimmed backgrounds and created this woven card. And that cute sentiment? It’s from the Right At Home Handmade By Me Stamp Set.

You also can easily create smooth, clean, creamy backgrounds with Distress Oxide Inks. This one has a Concord & 9th Friend Like You die cut sentiment.

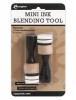
I was simply blown away at how easily these inks blend. WOW. SO EASY. For these I applied a rainbow of Distress Oxide Inks with a Mini Ink Blending Tool.

That background die cut overlay is from Neat and Tangled Scalloped Cover Plate Die and the sentiment is Jane’s Doodles You Got This Stamp.

I didn’t find any problems with the ink rubbing off after it was dry. I know Tim mentions it isn’t a problem either. (Since I just got these inks, I can’t speak of how well they hold up, but so far, so good!)

So here is the verdict: You need Distress Oxide Inks. Especially if you like techniques. Bravo, Tim. I am in love!

INK SWATCH DOWNLOAD

I have a free Ink Swatch Download for the Distress Oxide Inks – just click HERE. To see my complete list of Ink Swatch Downloads and how I create and store them, head over HERE.

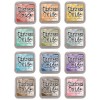
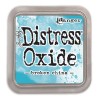
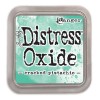
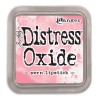
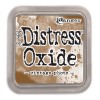
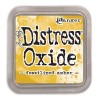
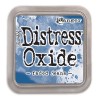
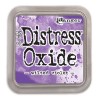
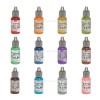
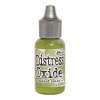
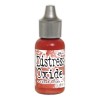
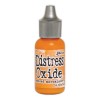
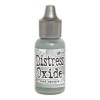
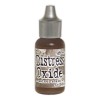
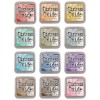
Here is a look at the colors. You can find the inks HERE.

GIVEAWAY

How would you like to win an entire set of Distress Oxide Inks? For your chance, leave a comment below by 11:59pmEST on 2/22/17 telling me if you like to get inky when crafting. I love it! (The winner’s name will be randomly selected, emailed and posted on my “Winners page” after the giveaway closes. International folks are eligible, too! Thank you, Tim and Ranger!)

SUPPLIES

Want to find the products I used? To make them easy for you to find, I have listed them below. (Compensated affiliate links used at no cost to you. Affiliate and product disclosure can be found here. All products were personally purchased except those with an asterisk. I purchased the Oxide Inks from SSS. As always, this post was NOT sponsored.)
CLICK A SHOP:
CLICK A SHOP:
CLICK A SHOP:
CLICK A SHOP:


Leave a Comment

3,052 thoughts on “Distress Oxide Inks + LOTS of Cards + GIVEAWAY”

  1. I like to get inky– as long as I can clean it all up when I’m done 🙂
    These inks look like a ton of fun. My daughter was asking me when we could get some to try the techniques we saw in your video!

  2. Of course i was trying to resist these new inks, but you have convinced me that I need them. Your cards are all so beautiful. I’ve been a fan of the distressed inks. I seem to do a lot more die cutting than inking on my cards, but have many ink pads and really want to start utilizing them more.

  3. DoDnna Cipriano says:

    Oh wow……I need these inks!!! For all the neat things they do, I really love the blending. I cannot seem to blend the Distress Inks. It doesn’t matter if I use the square, round or sponge. I aways get the outline of what tool I used.

  4. maria langston says:

    i loooooooooooooooooooooooooovvvvvvvvvvvvvvvvvvvvvvvvvveeeeeeeeeeeeeeeeeeeeeeeeeeeeeee the news oxide inks . thanks for the chance

  5. Joanna Wilkinson says:

    I actually saw these inks at the Queen’s Ink in Savage, MD yesterday, but I didn’t think I needed them. But today I found your video and have revised my opinion – these inks are perfect for me. I can’t wait to try them!

  6. Marie Siler says:

    I always am covered in ink whenever I do any inking of any kind! These oxides are amazing. I can’t wait to get them to color blend with them. I have a hard time blending as I always get the marks left by the blending tool, so these look like my new best crafting friend.

  7. Megan Mcdonald says:

    amazing cards, love the new inks.

  8. Beth says:

    Oh my goodness – I am going to LOVE these new inks!!! I had several of the Distress Inks, but kind of gave up on them, they were not doing what I needed, with the vibrancy. These are soooo perfect!!! Thank you Jennifer for showing us what all we can do with them and Thank you Tim Holtz for creating them!!!

  9. Sybrina K says:

    Getting inky is so much fun even though I often create muddy messes. Looks like these oxide inks might be the solution. LOL Thanks so much for the chance to win a set.

  10. Heather S. says:

    This video is so inspiring for the use of new inks and products. I am so excited about these Oxide Inks and I can’t wait to try them.

  11. Heather S. says:

    This video is so inspiring for the use of new inks and products. I am so excited about these Oxide Inks and I can’t wait to try them.

  12. Tina Kloepfer says:

    I really do love to get inky! In fact, the really inky backgrounds were my fav 🙂
    The blues and greens lend such beauty to fish die cuts and stamps – so pretty. I can imagine how pretty the Inks lend to creating skylines or celestial moon and star backgrounds! Anazjng – Wow Wow Wow! I would love to play with these inks because there are so many techniques and ways to use them. I’m simply floored by your video. I can’t wait to try them on kraft or other dark colored cardstocks. Thank you so much for reviewing them Jennifer. Tim really out did himself!

  13. Annie MoseleyAAAnniennie Moseley says:

    I love to get inky when crafting! Distress Inks create strong effects. I love the way they meld, swirl, blur and travel when spritzed with water giving a unique, beautiful finish. Thanks Jenifer for your inspiring ideas!

    Annie (from England!)
  14. clare charvill says:

    loved all your ideas and cards with these new Oxide Inks. Thanks so much for all the inspiration. Can’t wait to use these fabulous new inks 🙂 C

  15. Emmitt Godette says:

    I llllooooovvvveeee to get inky when crafting. There is no other way! Lol! I can’t wait to use the Distress Oxides. I do portrait drawings and I can’t wait to experiment with them and use them as a colorful background. I pray I win!

  16. Ulla Hyttinen says:

    I love to get inkie when I am crafting and this is amazing new product from Mr Holtz. What you did with them was so pretty och fun. I really would like to get the chance to play with them and give fun and lovely cards away to friends and family. =)

  17. I bought a few colors after seeing them on the counter at my local shop. The girl did not really know what they did but she grabbed one and inked a sheet of paper and sprayed it. I thought pretty cool, you can’t do that with other inks and get a result like this. I bought a few, but now that I see what you can really do I am hooked and I haven’t even played with them yet. I hope they offer more colors once they realize what an awesome product Tim/Chemists have created. Excited to see more videos and have the chance to win a set. Thanks Jennifer!

  18. Alexandra Madison says:

    Thanks for all the tips for the new Oxide inks! I don’t mind getting inky. I found that stained hands get much cleaner with the more dishwashing that you do 🙂

  19. Lynne.R says:

    These inks, and your card), look fabulous. I would really love to get them and play. The oxide adds so much more dimension to the looks and abilities of what can be done with just one pad. I do get inky when I make cards sometimes but these would really kick it up. Winning these would be so wonderful, thank you for the chance.

  20. Cindy Major says:

    Hi Jennifer,
    Thanks for posting about those inks. I’ve been impatiently waiting on more info about them since seeing the release announced at CHA. The colours look gorgeous and I was so intrigued about how to use them. You’re definitely making me want to try them out, now! I barely ever craft without taking my inks out. It is one of my most useful tools!
    Cindy

  21. Beverly Chester says:

    Very excited over the Oxide inks and the projects you were able to make with them!! So versatile!! I am going to try some of these techniques!!

  22. Kathi Best says:

    WOW – These new oxide inks are incredible! I don’t like to get inky because I end up with ink on everything except where it is supposed to be! It is just amazing the different looks that can be achieved with one ink pad. I have not purchased new inks in a long time, but I do believe it is time to broaden my collection. Thank you Jennifer for learning and teaching at the same time. These are amazing.

  23. Love how you demonstrated the blending and opacity of these inks. These are awesome

  24. Marina says:

    Such beautiful inks!!! I love to get inky!!! 🙂 Thank you so much for giving them away! And thank you for sharing your tech-nicks!!!

  25. Eva Delamater says:

    The possibility seem endless with the distress oxide inks! They open up a whole new inky world!!! I can’t wait to play with them!!

  26. Heather Huggins says:

    Wow~! Wonderful examples to use the inks. Your finished projects are fabulous. Thank you for sharing.

  27. Shirl says:

    OMG! Just watched the video and I’m so amazed. Your video is filled with so much info. Just subscribed to your videos.
    I don’t like to get messy but maybe I will need to get some on my hands. Thank you so much!

  28. Whitney Meynberg says:

    Wow! Such a great video! I honestly didn’t think I would need these inks… but seeing how well they blend, totally makes me reconsider!! I love inky backgrounds I think they make the most impressive cards! Thanks for sharing!

  29. Karen Goulet says:

    If my hands do not have paint or ink or glue on them, then I feel like I haven’t done
    any work! Thank you for sharing the techniques and for a chance to win. Karen

  30. Margie Fulcher says:

    Jennifer: Your cards are lovely. I am eager to try the new Tim Holttz Oxide ink pads. The way you got them to blend made me want them. I have soooo many different ink pads, but these ink pads seem to be different. I would love to be the winner of these pads..

  31. Peggy Garber says:

    Like others, when I watched Tim I was impressed but didn’t think I needed them. But I surly do! Thanks for the great video

  32. Patrick Kalinoski says:

    My wife is really excited over these inks. She is not healthy enough to use the regular distress inks as they are hard to blend. Thanks for the opportunity to win a set for her.

  33. Val says:

    Thank you for a really great video. I was determined not to purchase these inks as I have so many inks, but your video has now placed these inks onto my wish list. I love getting inky, only if all the ink comes off my hands when I clean everything up. I don’t like having ink stained fingers!

  34. Tammy Lever says:

    Thanks for the great video! I just got some of these (as I am a big TH fan and am pretty much going to buy anything with his name on it! ) and am excited to give them a whirl! I love to get inky! I have a big box full of paints, sprays, inks, gelattos, distress crayon and the like..anything that is going to add color!

  35. Rebeca Arce says:

    I have heard of this inks. But until I saw you using them it made sense in my crafty heart that this is exs tcky what I’ve been looking for. I don’t kike getting my fingers inked during crafting, but it’s inevitable and adorable…hahahha. Thank you for all the effort you put in showing us how to make the most out of the inks and techniques that are out there. Greeting from Mexico City!

  36. Elizabeth Rose says:

    Jennifer, I watched your tutorial & loved it, thank you! You are such a gifted teacher & I appreciate your tutorials & great ideas. I am slowly trying to build up my resources, the Distress Oxide Inks really look like they would be a lot of fun and seem to have endless possibilities.. Again, thank you & I love how you shine for Jesus too!

  37. Margie C says:

    Such a fan and love the technique. I am anxious to give it a try and get all inky.

  38. mkwdood says:

    Love what you are doing with these inks. They are a lot of fun. the coverage and colors are so fun.

  39. Michelle Thompson says:

    I really like the splatter technique with the new inks. I’m not usually a fan f splatter designs, but I really like the hello cards you did using the new oxide distress inks.

  40. Ann M. Otto says:

    Love to get inky!! I enjoy seeing the way the ink moves around on the paper!! The colors you achieve are always so very different!

  41. AbbyNedved says:

    I love these new Distress Oxide Inks! I really enjoy getting inky when crafting! Also love the video!

  42. Kathy says:

    I love getting inky and these look awesome! Thanks for so many great samples and ideas!

  43. Monique Stevens says:

    I love using the Distress inks for backgrounds, and I can see that the Distress Oxide is a definite must have!!! Your video was great and your cards are all gorgeous!!!

  44. Dorothy B says:

    I do love getting inky while I craft and these look like so much fun…can’t wait to get my hands on some…thanks for the informative video

  45. Judy Stiles says:

    What a great video! I have the regular distress inks, but these oxides look beautiful. Need to try them!

  46. Kelly J says:

    These inks are fabulous and your cards are beautiful. Thanks for the chance to win.

  47. Cathy Schlecker says:

    Loved your use of these oxide inks. I wasn’t going to get them but after watching your video I’m loving them.

  48. Maxine Norrish says:

    Hi Jennifer, thanks for the great video introduction of the new inks. They look like great fun to use and so versatile. Thanks again, Maxine

  49. Kirstin says:

    So excited to try the oxide inks – so excited that I missed the part about them not being available yet! Drove to 4 different craft stores looking for them today….. had to settle for water coloring with some dye inks. Either way, I crafted today so that makes it a good day! ?

  50. nay Gelvin says:

    I just love getting inky! I don’t even care if it doesn’t come off. It reminds me of happy crafting times and makes for great conversation! These inks are awesome! Thank you for all the tutorials.

Leave a Reply

Your email address will not be published. Required fields are marked *